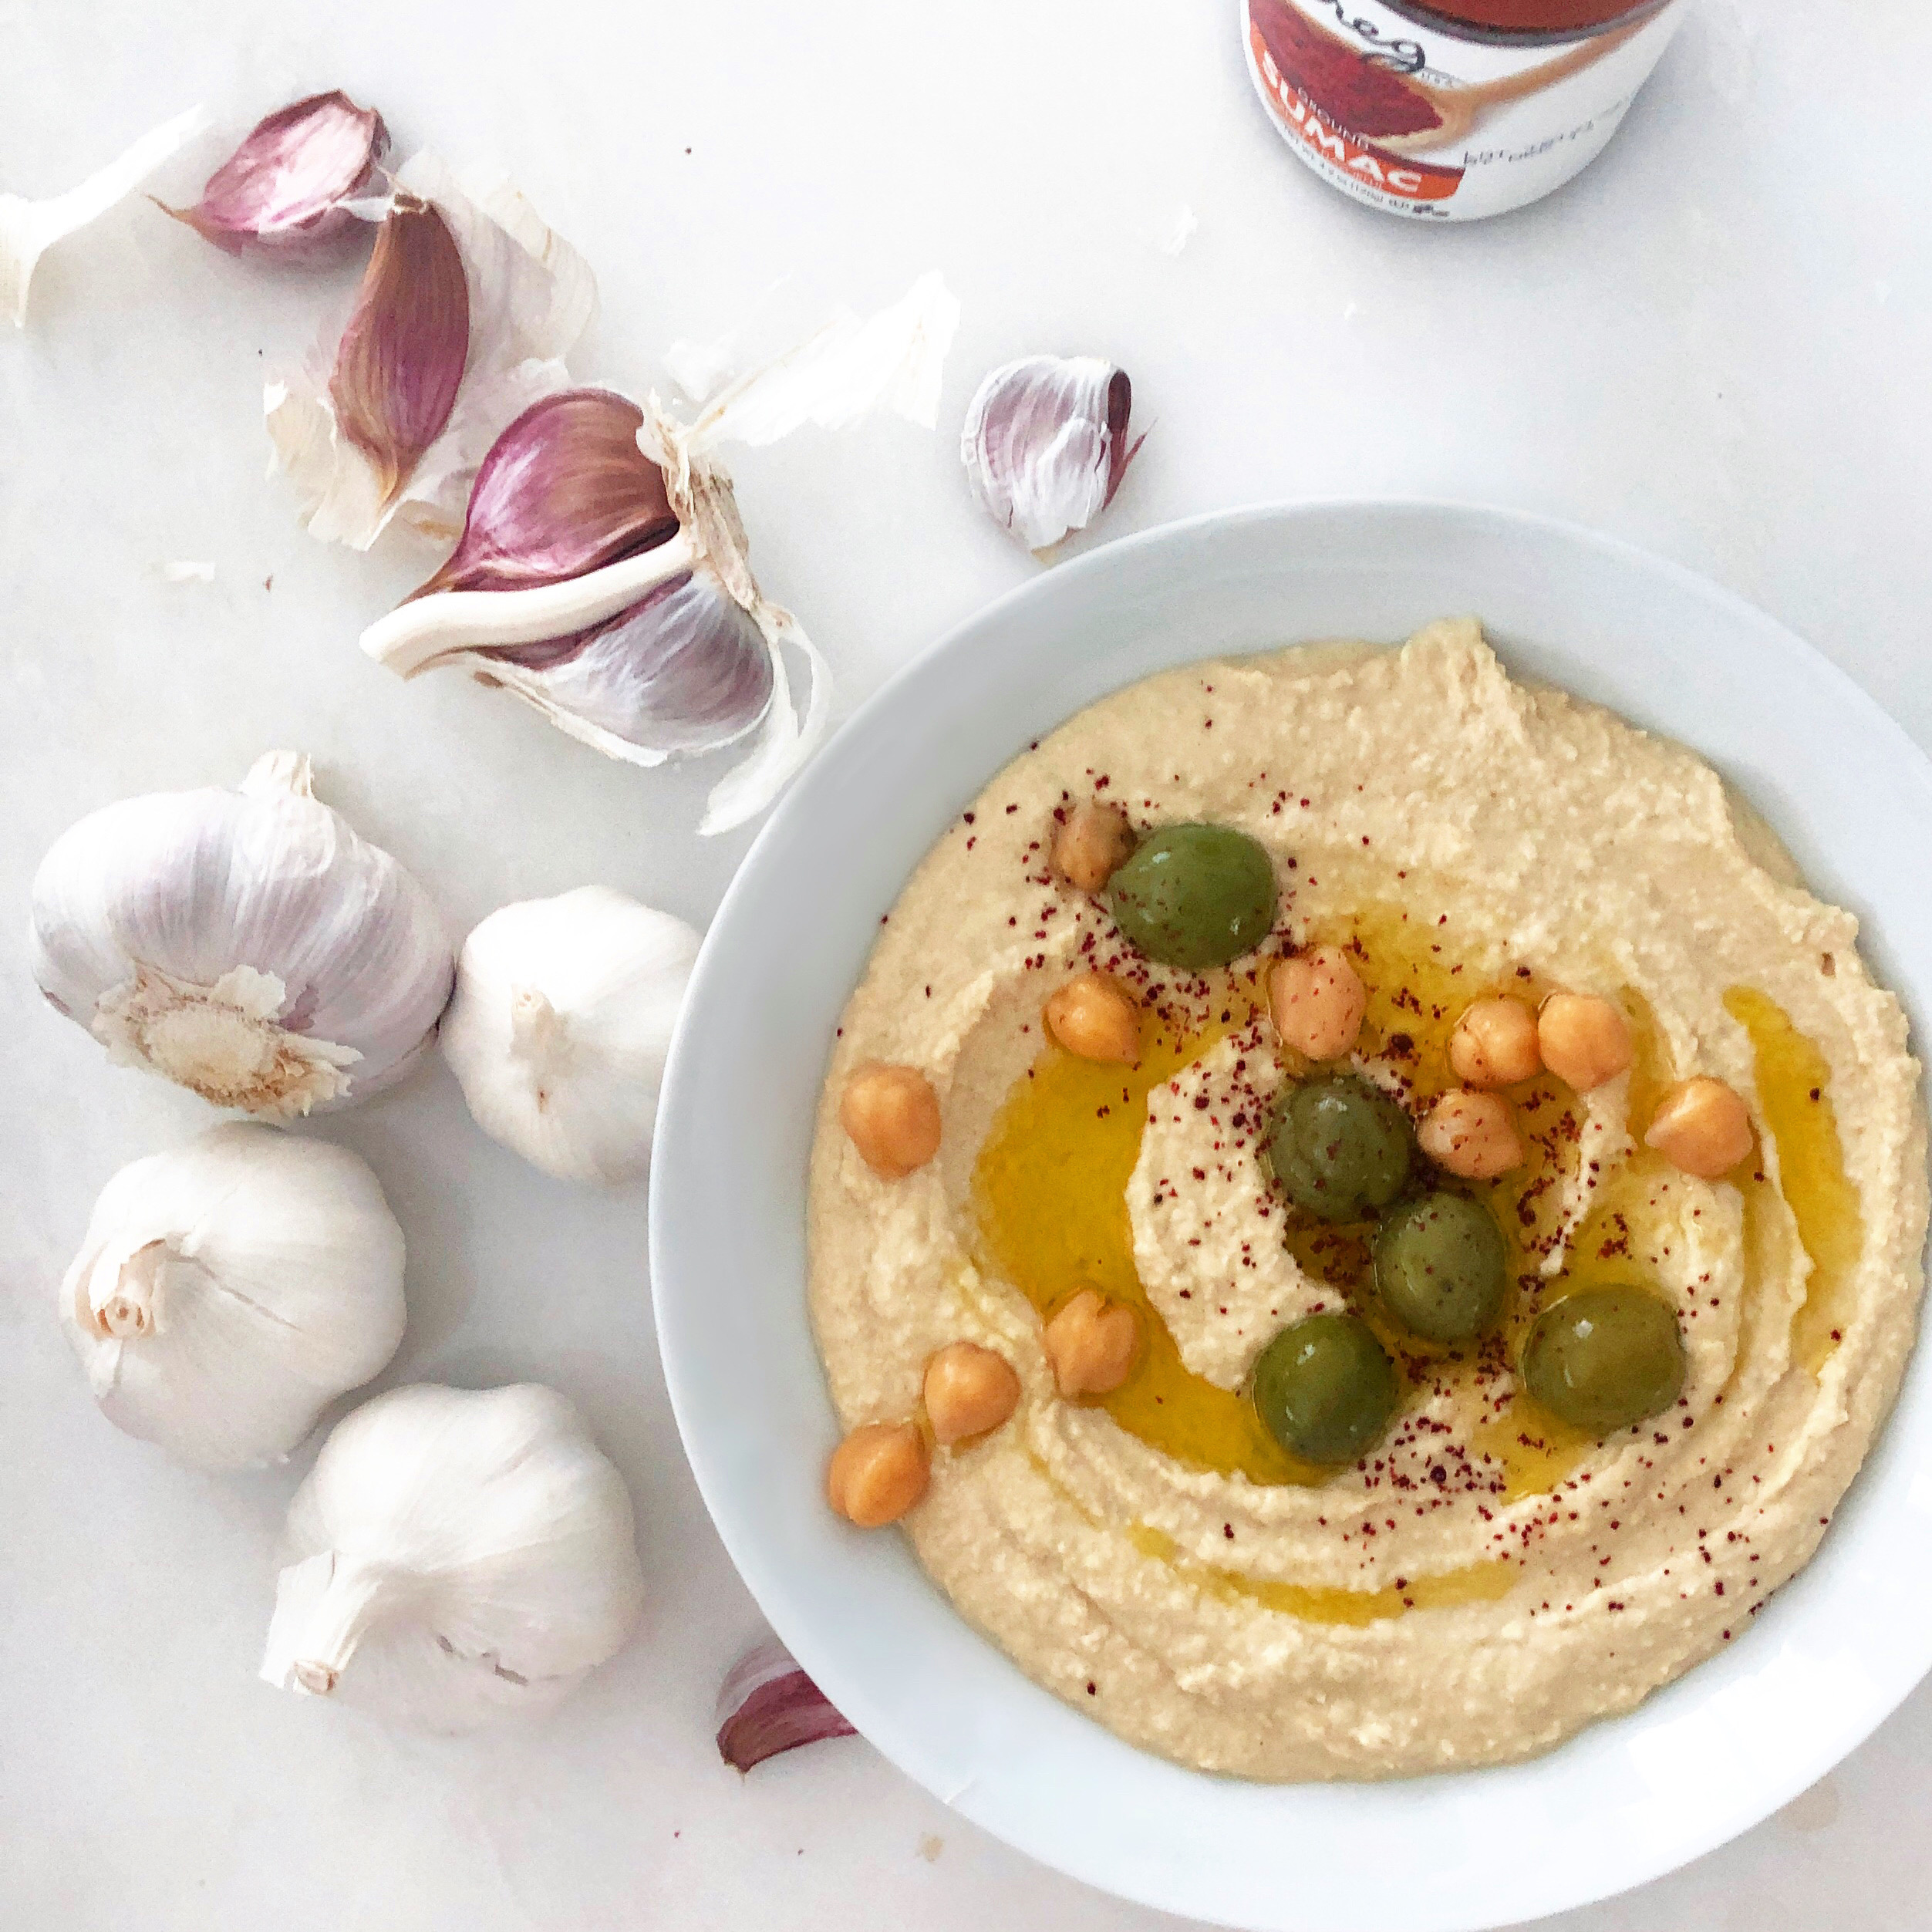


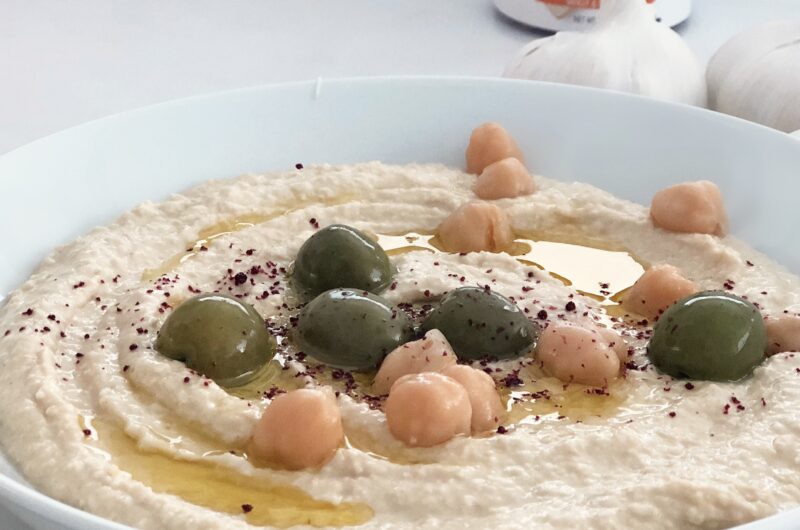
Easy Classic Hummus
Before we embark on a journey through the land of mashed chickpeas, olive oil, and tahini, we must address some controversy. First, the eternal debate over the correct pronunciation of “hummus.” Is it “hoo-mus,” “hum-us,” or perhaps “huh-mus”? I’m partial to the latter two, but I don’t care how you say it, as long as your hummus is tasty!
Next up: the great chickpea skin debate. Some swear by removing the skins for a smoother, creamier texture, while others argue that it’s an unnecessary step that complicates the hummus-making process.
Those in favor claim that removing chickpea skins creates a smoother, creamier texture in your hummus and allows the flavors of the other ingredients to better shine through. Those opposed argue that removing chickpea skins is tedious and time-consuming, and depletes them of valuable nutrients and fiber.
Whether to remove chickpea skins for hummus ultimately boils down to your own taste preferences and willingness to put in the extra effort. I personally don’t think it is essential and only do it about half the time. Nonetheless, my method for removing the skins from the chickpeas is below, should you decide to give it a try.
Finally, do you go classic with pita bread or get adventurous with your dipping items? Perhaps you’re a rebel who dips apples, chips or meatballs into your hummus. No judgment here, as long as you bring enough to share.
As an Arab, hummus is more than just a dip; it’s a way of life. It brings people together, sparks debates, and quells hunger without ruining your appetite for dinner. Growing up, we always had hummus in the fridge, sometimes homemade, other times store bought. While you can’t beat the convenience of store bought hummus, the glory of a fresh batch cannot be overstated. When you make it yourself, it will taste fresher and you can customize it to your liking.
Ingredients
1 1/2 cups (a 15. oz. can) chickpeas, drained and rinsed*(see note for instructions on how to remove chickpea skins- this is entirely optional)
3 tbsp tahini
3 tbsp extra virgin olive oil
1-2 cloves garlic, peeled
3 tbsp lemon juice
3/4 tsp ground cumin
Kosher salt
ice water
- If removing chickpea skins you will also need:
1 1/2 tsp baking soda
Directions
- Add to the work bowl of your food processor: the drained chickpeas, tahini, olive oil, garlic, lemon juice, and cumin. Process until smooth. If needed, ad ice water, 1 tbsp at a time, processing after each addition, until the hummus is your desired consistency. Process for 3-5 minutes, to aerate the hummus and make the texture smoother. Season to taste with Kosher salt.
- *To Remove Chickpea Skins (this is an optional step, as noted)
PLEASE NOTE THAT IF YOU SKIN CHICKPEAS, YOU WILL NEED MORE THAN ONE CAN BECAUSE SKINNING REDUCES YIELD. YOU WILL STILL NEED 1 1/2 CUPS OF CHICKPEAS FOR THE ABOVE RECIPE, MEASURED AFTER SKINNING.
Combine 2 cups cooked chickpeas (canned or cooked from dry, drained but still moist) and 1 1/2 tsp baking soda in a small saucepan or skillet. Stir continuously over medium heat until the chickpeas are uniformly hot. Stir for another minute. Transfer the chickpeas to a large bowl with cold water, and rub gently with your fingers. The chickpea skins should slip off easily and float to the top of the water. After about 4-5 minutes of rubbing, appx. 80% of the skins will be removed, but keep going if you want to remove them all. To remove the skins from the water, swirl the water in the bowl so the skins rise to the top then, either: 1) pour the water with the skins into the sink (taking care not to discard any chickpeas) and refill bowl with cold water; or 2) skim off with a strainer.
Did you make this recipe?
Tag @thesaladwhisperer on Instagram and hashtag it with

Sarah Faris: The salad Whisperer
Sarah is a classically trained chef and Mom whose passion is spreading the gospel of salad. A native New Yorker, she now calls Miami, FL home.
Read more
Share this post:
Leave a Reply