


100% Naturally Leavened Sourdough Pita Bread (No Yeast!)
I didn’t get into sourdough because I wanted to bake loaves of bread. I got into sourdough because I wanted PITA! And not the dry, store-bought kind that crack when you fold them and feel funny on your tongue. I wanted warm, soft, pillowy pita, the kind you’ll get at an upscale Mediterranean restaurant. But better. I wanted a subtle sweetness with sourdough’s signature tang at the end. And that complex, lived in flavor that only sourdough imparts. The flavor that tells a story of generations.
And after realizing no one was really offering that? I decided I’d just make it myself.
If you already bake sourdough, this is an excellent way to use active starter and add a new skill to your sourdough arsenal. And if not…well, we’ll get you there.
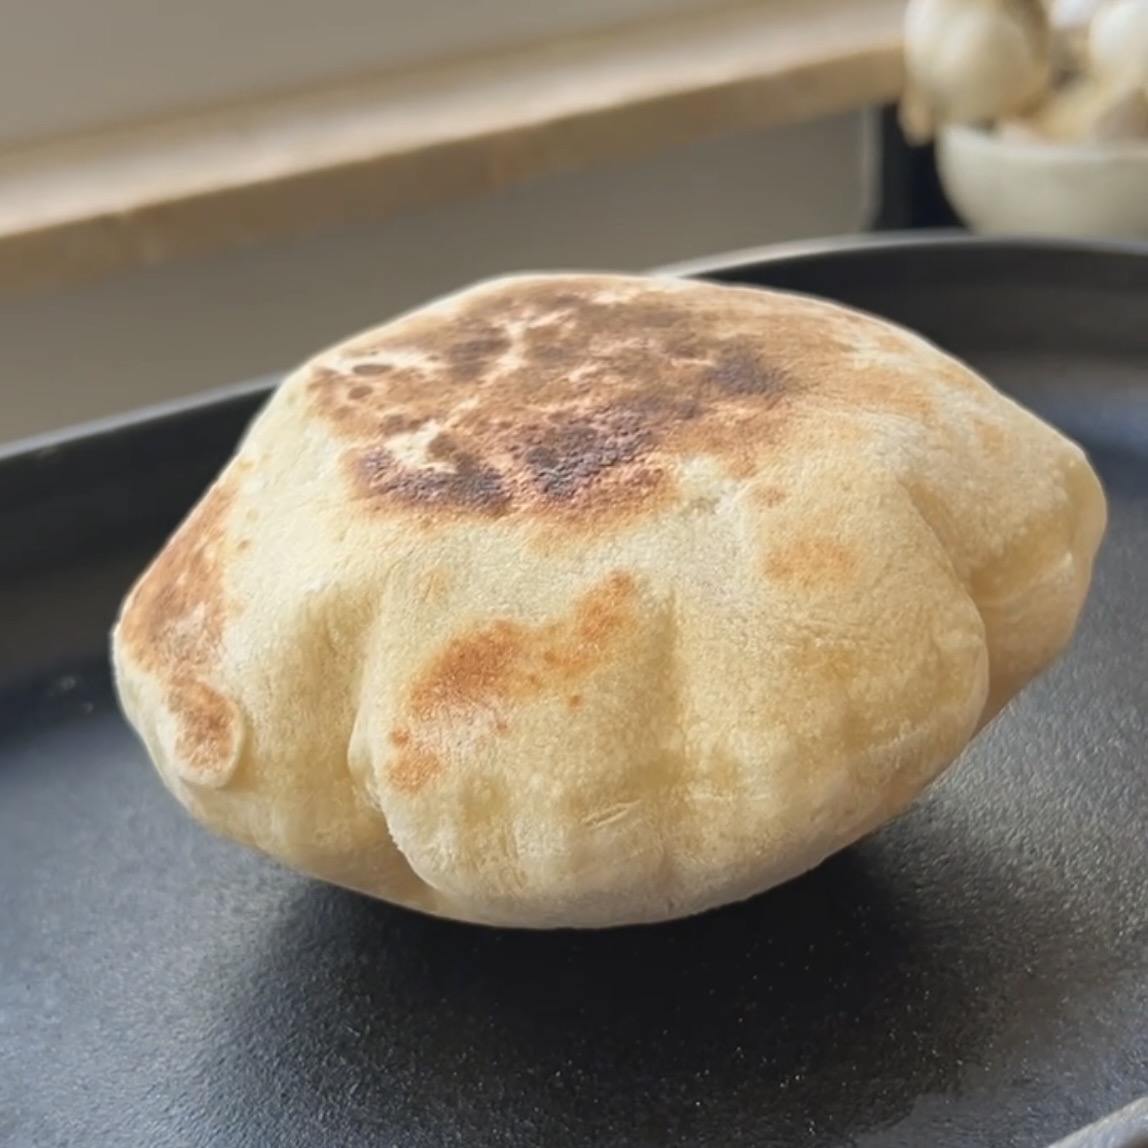
These pitas cook in just a few minutes per side and can be made on a cast iron skillet, griddle, or directly on the rack of a very hot oven. The high heat creates steam inside the dough, which is what causes that magical pocket to form. Once cooked, they’re best enjoyed warm, but they also store beautifully for easy lunches, mezze spreads, or build-your-own dinner situations all week long.
SOURDOUGH PITA BREAD FAQ
Is this a beginner recipe?
No. I don’t recommend giving this a go if you’ve never baked with sourdough before. You’d be better off with a simple yeasted pita recipe before diving headfirst into this one. If you are sourdough curious, I wrote an article for you titled EVERYTHING I WISH I KNEW ABOUT SOURDOUGH BEFORE I STARTED BAKING.
How long do these pitas take to make?
About 6 hours, with much of the time being inactive. You will make the dough, and then let it rest, typically for 3-4 hours. Then you shape, allow to rest again, then bake. These pitas cook in just a few minutes per side and can be made on a cast iron skillet, griddle, or directly on the rack or on a pizza stone in a very hot oven. The high heat creates steam inside the dough, which is what causes that magical pocket to form. Once cooked, they’re best enjoyed warm, but they also store beautifully for easy lunches, mezze spreads, or build-your-own dinner situations all week long
Why didn’t my pita puff and form a pocket? Here are a few potential reasons why:
- Do you have claws? Long nails can puncture the dough which will create escape routes for the steam, disabling the impressive puff. Pocket formation depends on high heat, properly rolled dough and delicate treatment after rolling.
- Your skillet or griddle isn’t hot enough: Make sure your skillet, griddle, or baking stone is fully preheated before cooking. Roll the dough evenly (not too thick in the center), and avoid over-flouring, which can prevent proper sealing and steam buildup.
- Your pitas dried out: This happened to me a lot when I first started making these pitas. The culprit is usually using too much flour when rolling out the pita, not covering the sheet pans tightly with plastic wrap after the pitas have been rolled, or taking too long in the rolling process. If I see little cracks forming, I lightly moisten a paper towel and gently lay it atop the pita. However if you do this, you will need to flour your hands before handling the pita to cook because the top surface of the pita will now be sticky.
What’s the best way to store homemade pita bread?
Once completely cooled, store pita in an airtight container or zip-top bag at room temperature for up to 2 days, or refrigerate for up to 5 days. For longer storage, freeze well-wrapped pita for up to 2 months. Reheat gently in a skillet or wrapped in foil in the oven.
Do I need any special equipment?
It really helps to have the following:
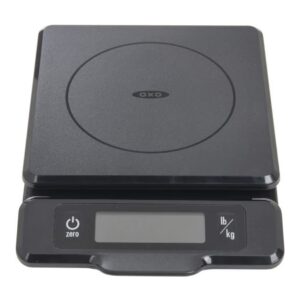
- Digital Kitchen Scale: A digital scale is better for baking sourdough because it provides precise measurements, ensuring accurate ingredient ratios, which is crucial for consistency in fermentation and dough hydration. Unlike volume measurements, which can vary, weighing ingredients improves dough texture, rise, and overall baking results.
- Bowl scraper: Dough scrapers with rounded edges are typically called bowl scrapers and ones with 90° angle corners are considered bench scrapers. I prefer my bowl scraper for this recipe because I can use it to both transfer the dough from the bowl and also to portion my dough.
- A Small Rolling Pin: For pita, I don’t recommend a standard rolling pin, rather get a small dowel-type rolling pin that is about 1 inch in diameter and 9 inches long.
- Stand Mixer with Dough Hook: Before the days of technology, people did knead dough by hand…but I never have! And I don’t plan to! Lol.
- Heat proof gloves: I use these to remove my cast iron from the oven once I have preheated it.
Can I make these pitas ahead of time?
Absolutely. Cook fully, cool completely, and store in a ziplock bag in the freezer. Reheat briefly to soften and revive the pocket before serving. I reheat mine in a 300 (°F) oven straight from the freezer, wrapped first in a small piece of parchment paper, then in a piece of foil. That way the bread doesn’t stick to the foil and rupture the pocket.
What’s the best surface to cook pita on?
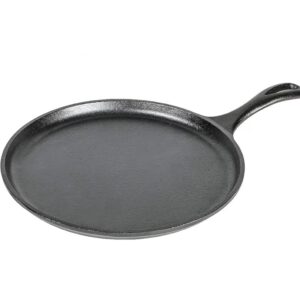
A cast iron skillet or griddle to cook them on the stove. Or directly in the oven. The key is consistent, high heat. The oven method is the most beginner friendly.
How do I keep pita soft and flexible?
Stack hot pitas and wrap them in a clean kitchen towel as they come off the heat. The trapped steam keeps them soft and pliable instead of drying out.
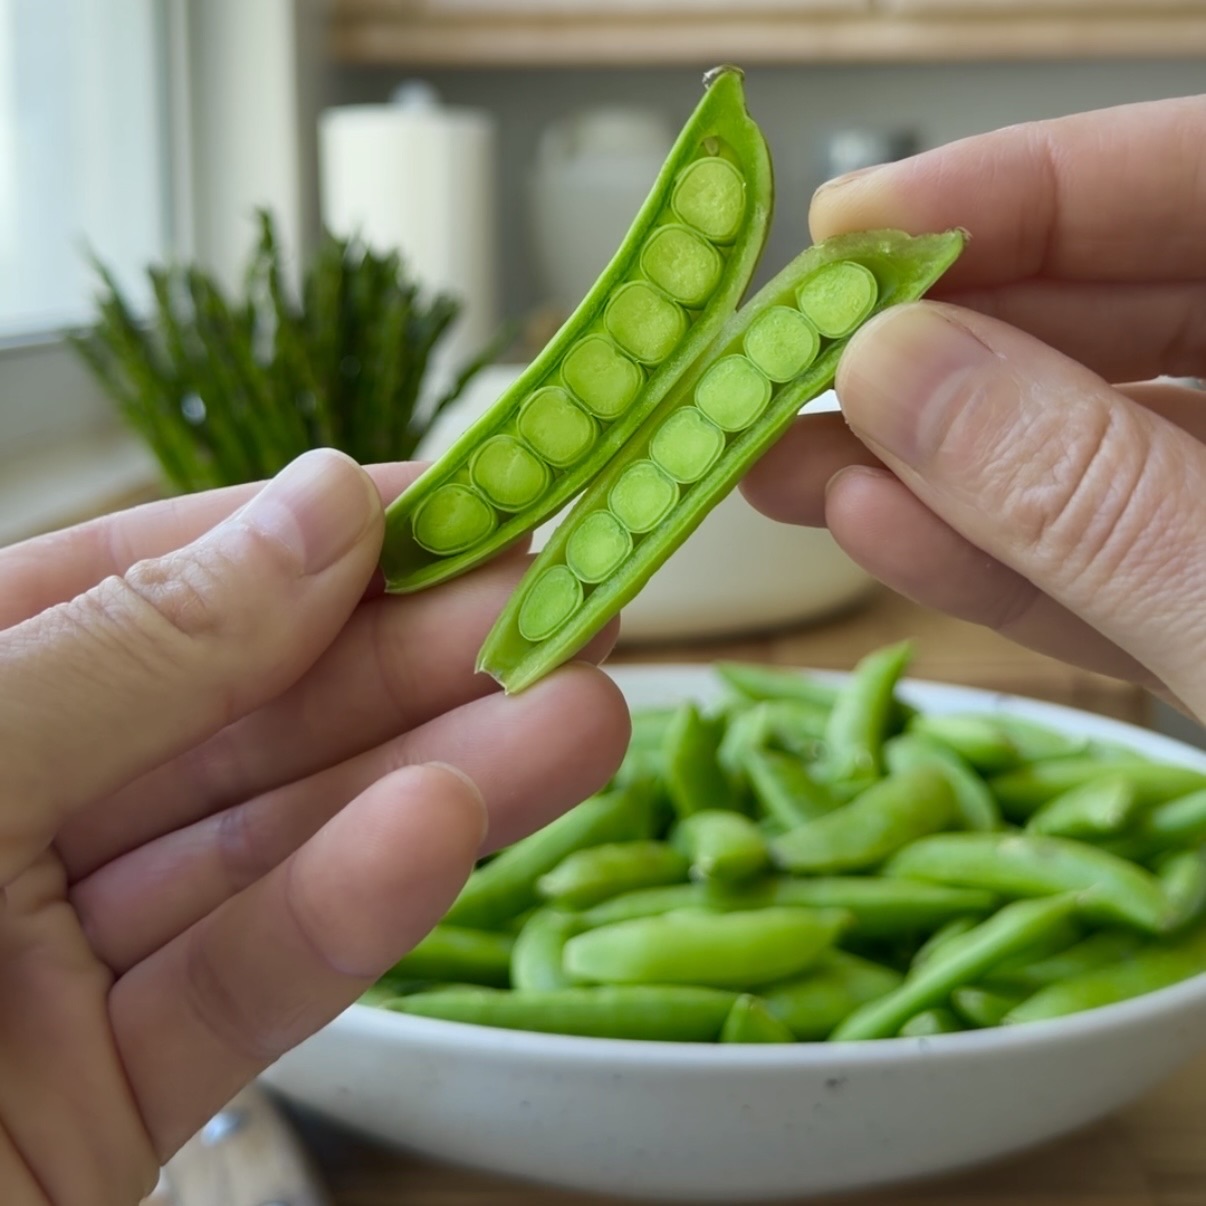
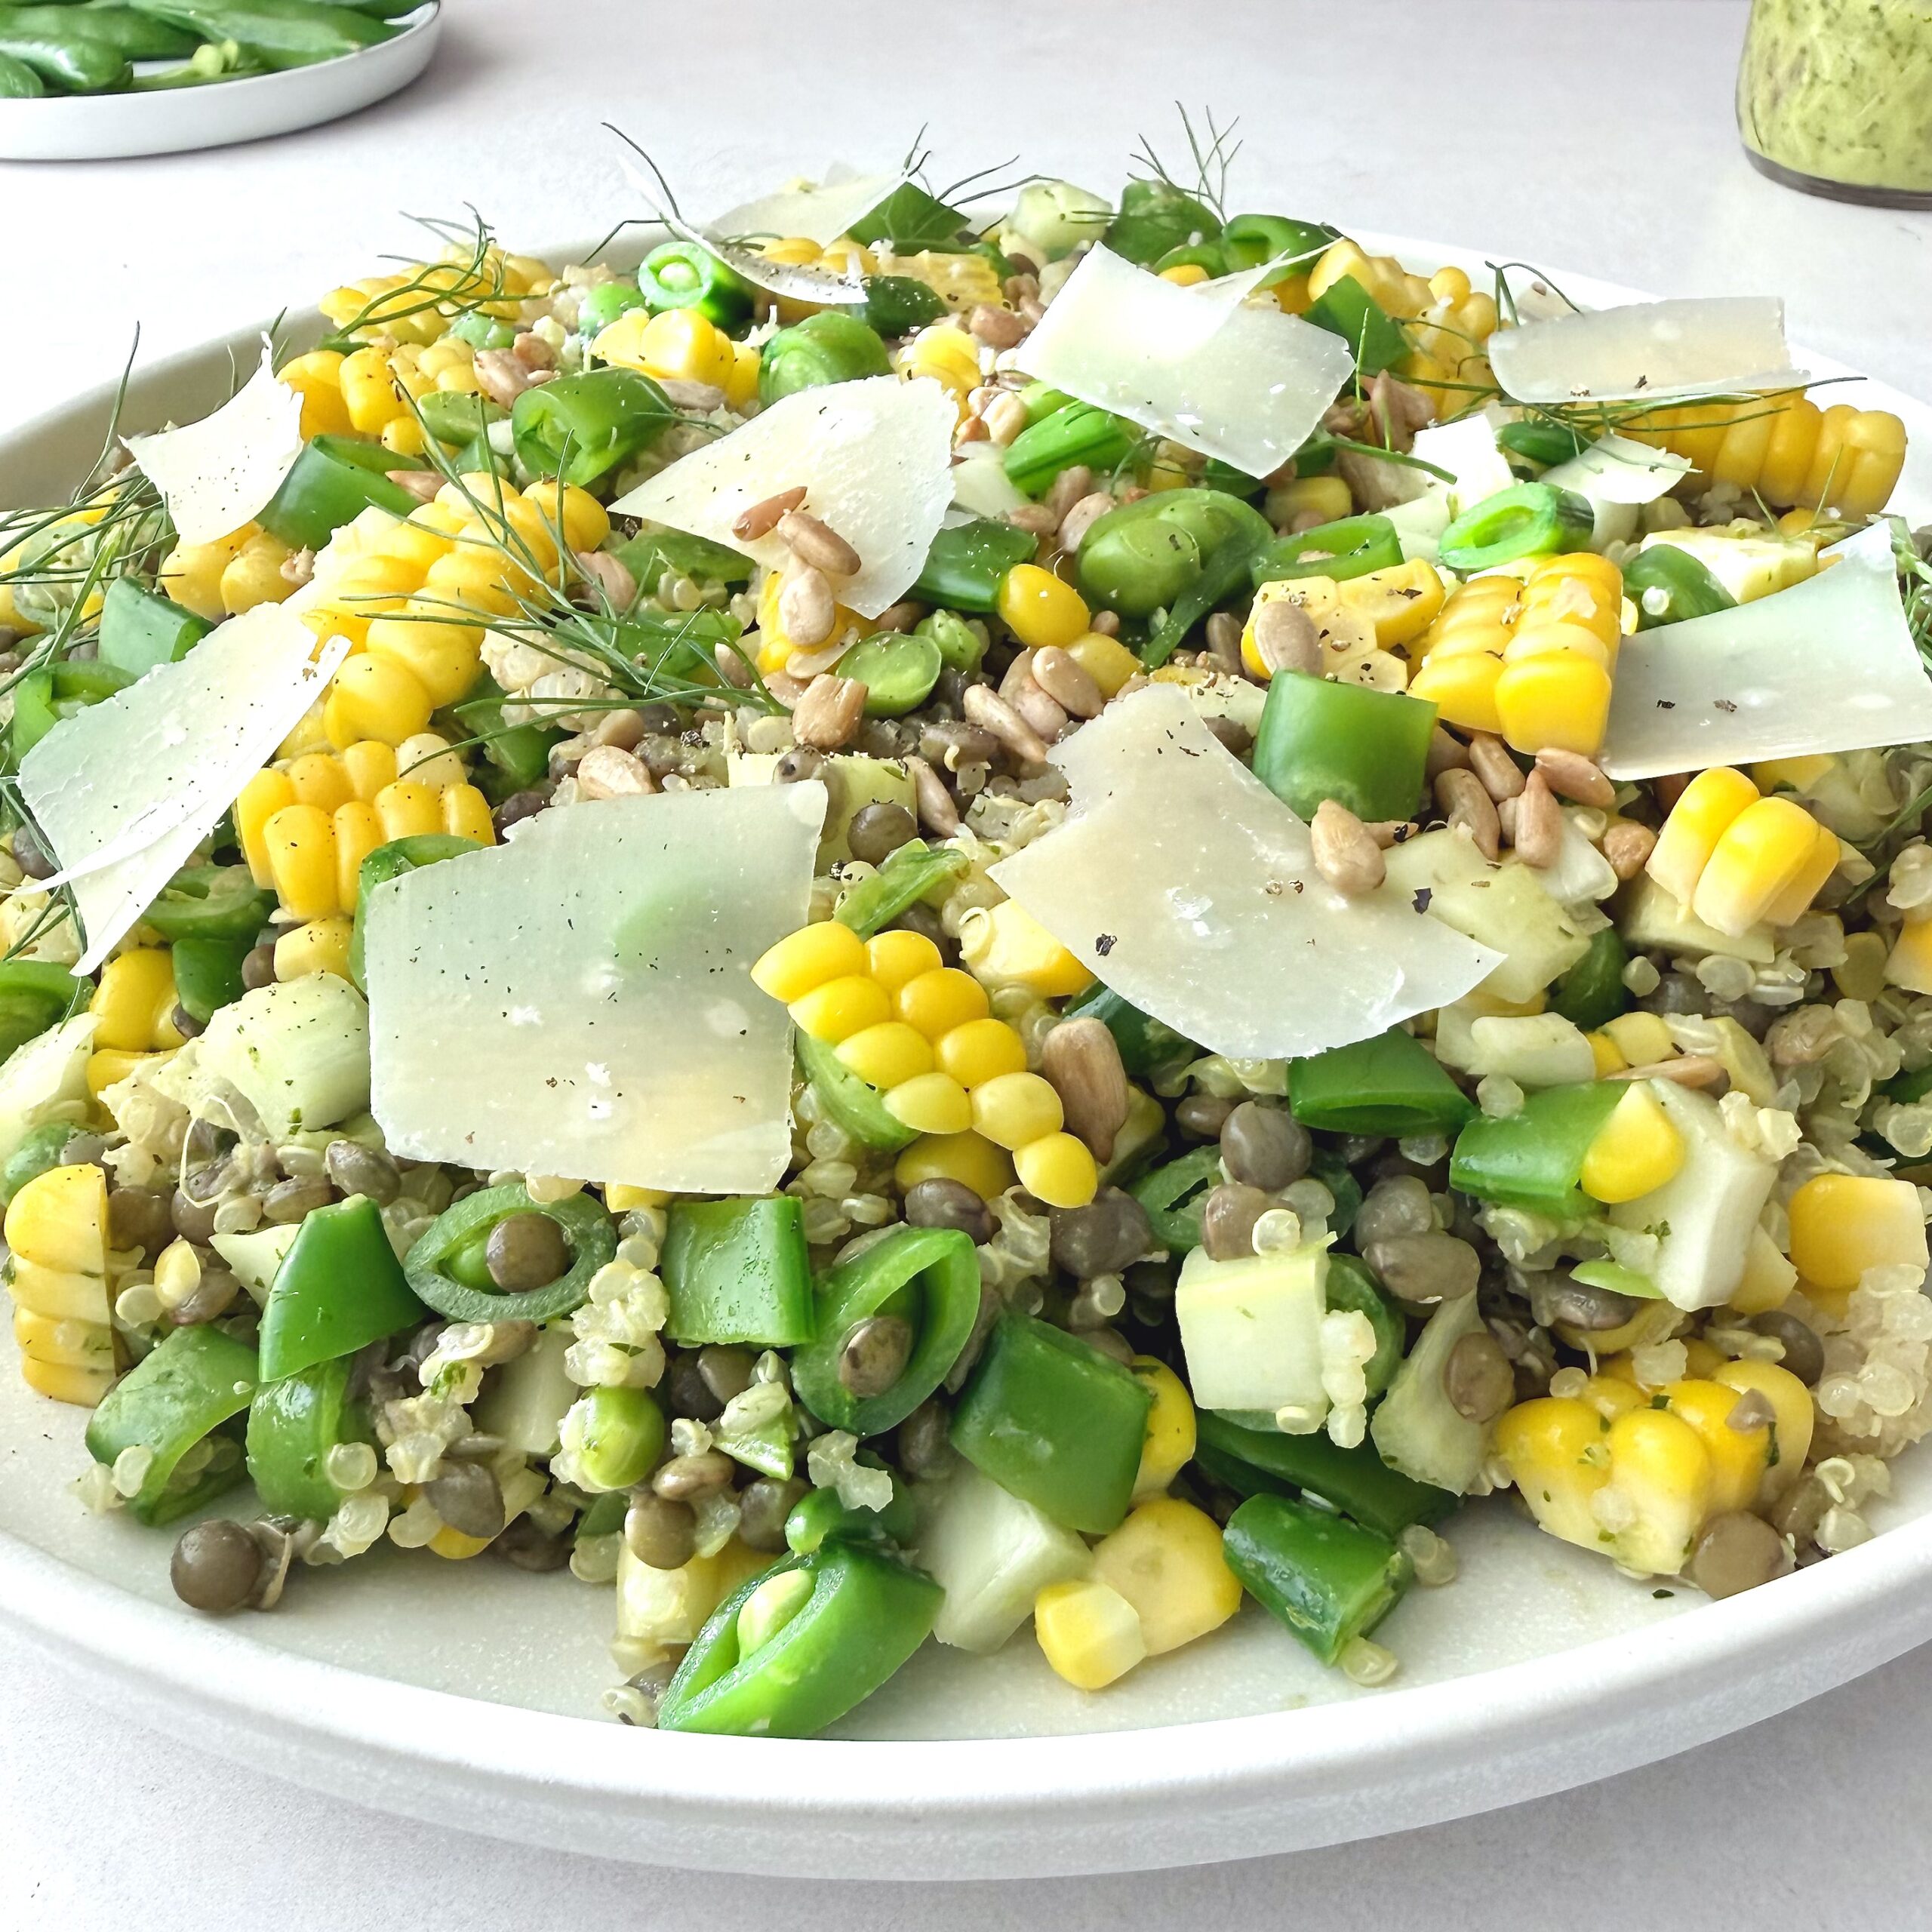
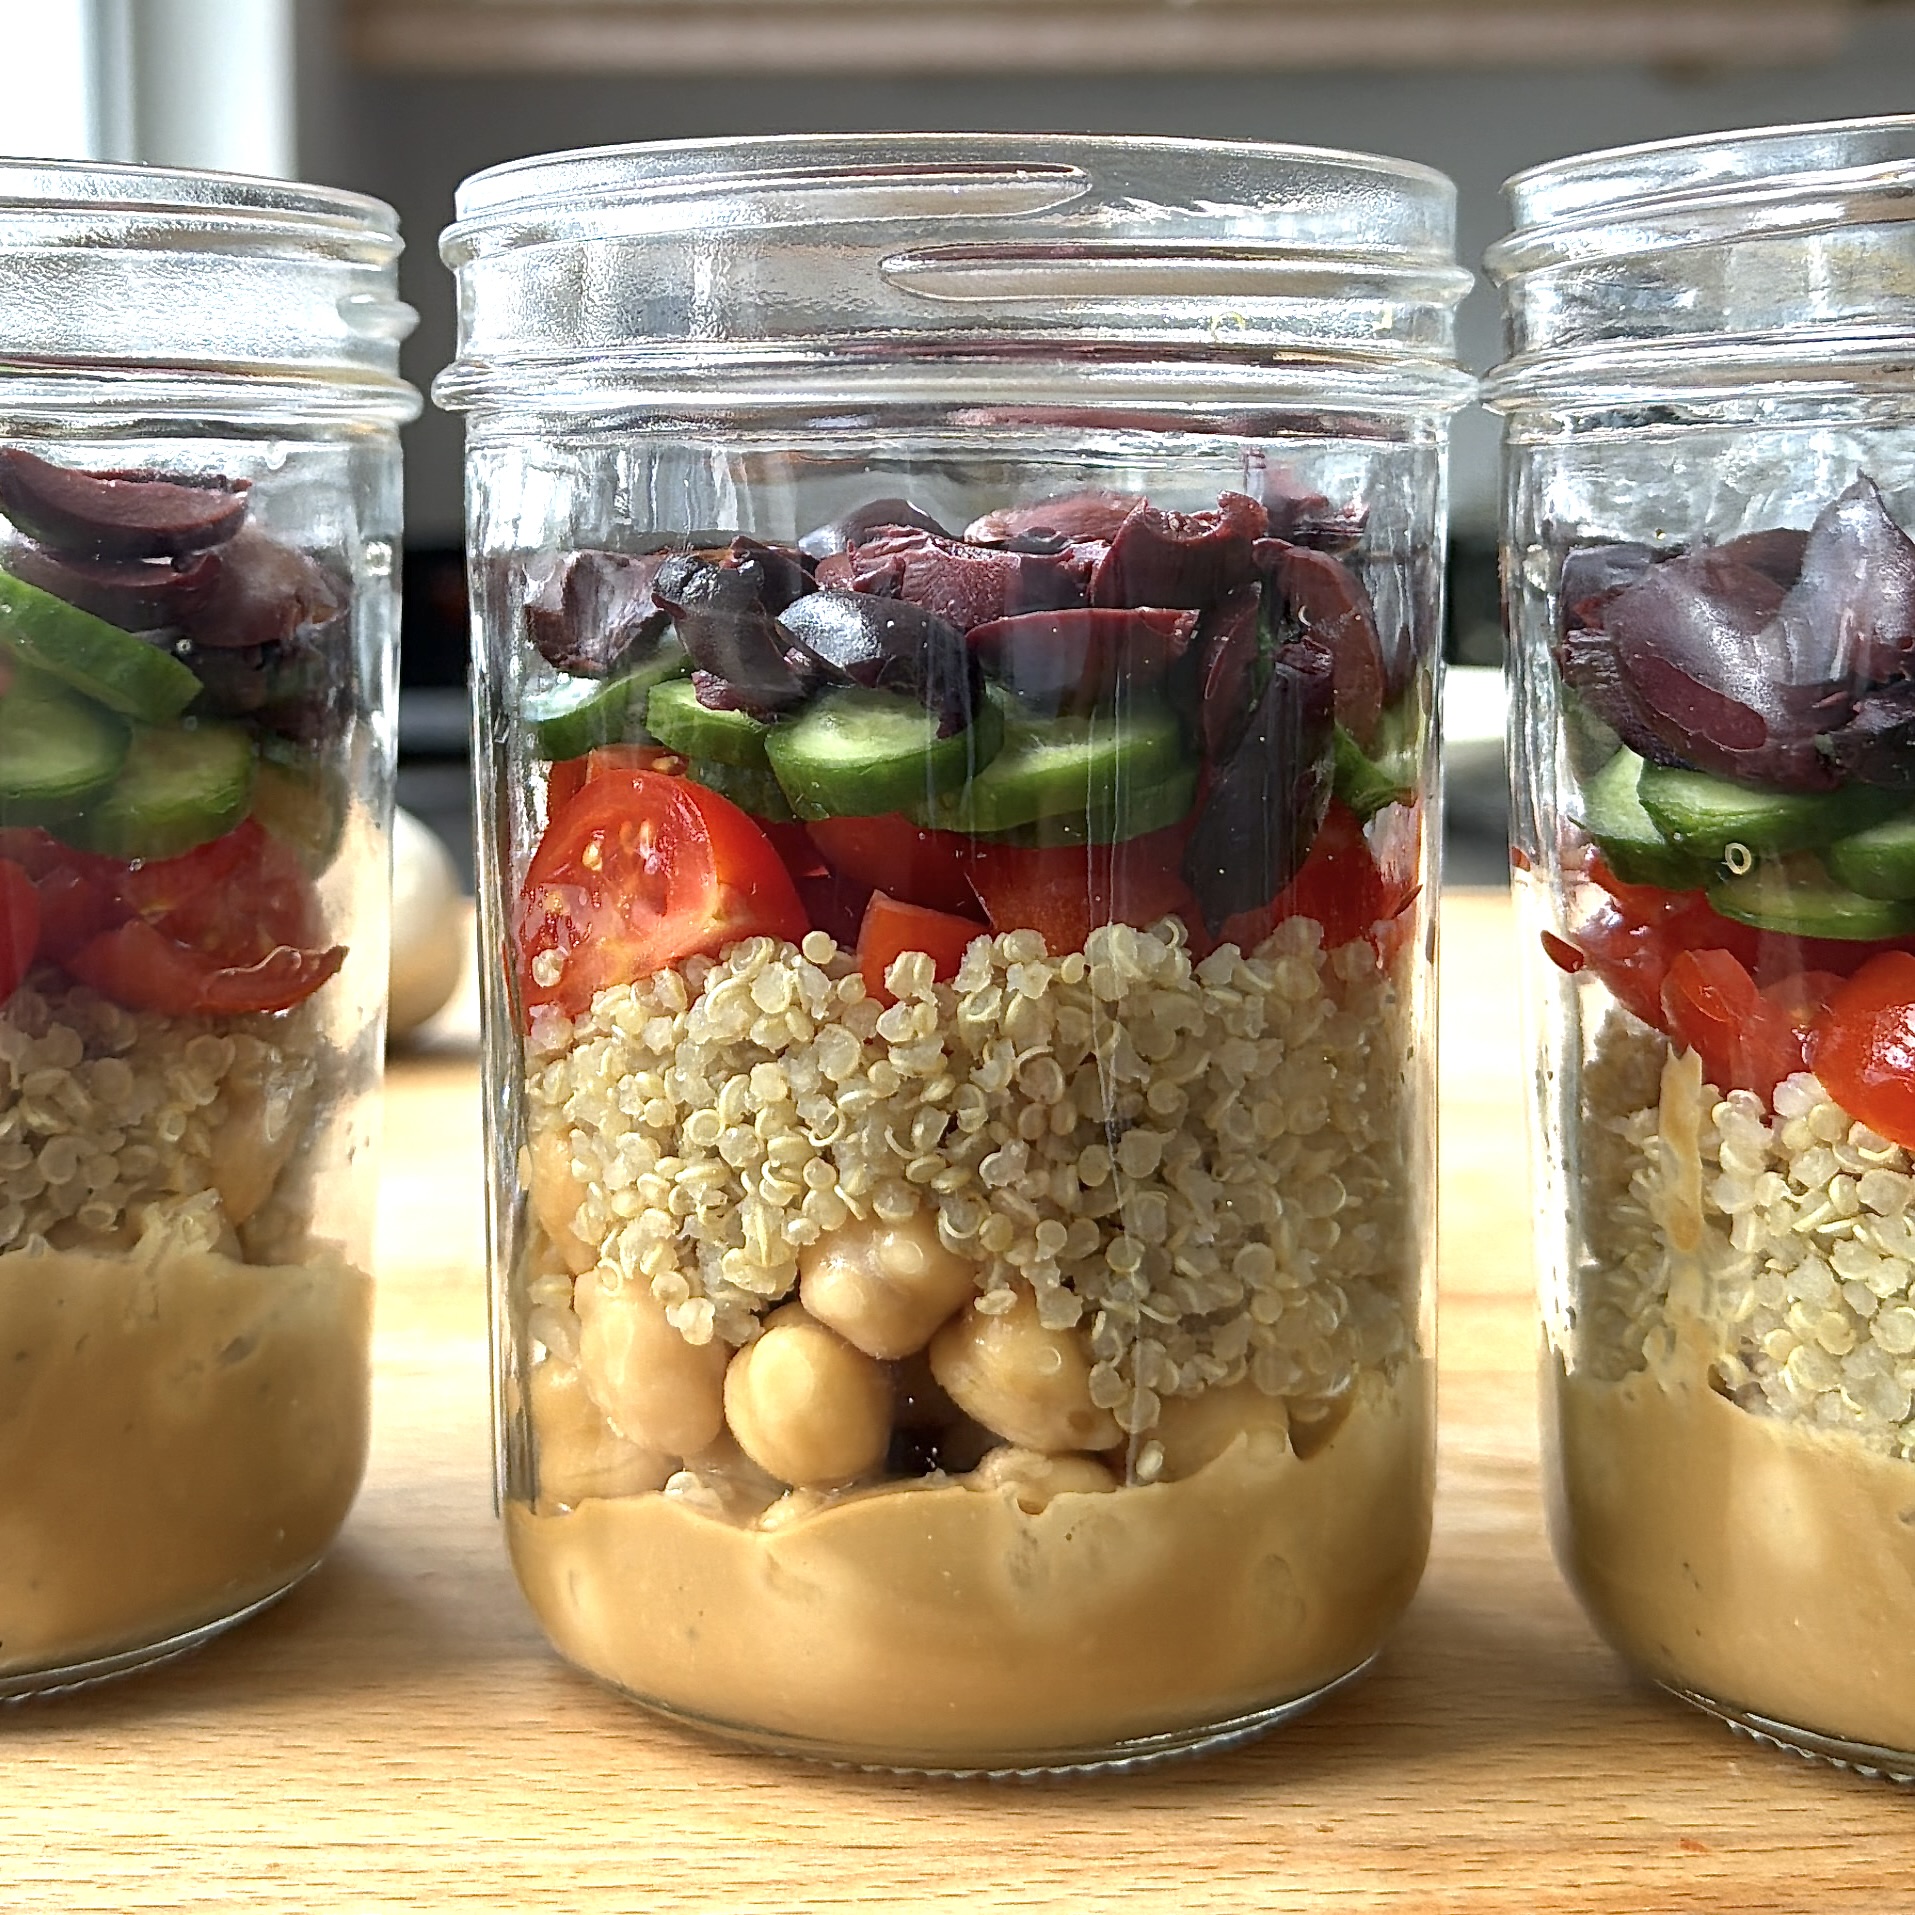
What should I stuff sourdough pocket pita with?
Anything you love: chopped salads, roasted vegetables, grilled meats or tofu, falafel, eggs, hummus, herby yogurt sauces, or leftovers.

Sourdough Pita Bread (with a POCKET!)
8
servings
There is something so insanely gratifying about watching a round of dough balloon into a perfectly puffed pocket pita on a hot skillet. These sourdough pocket pitas are tender, chewy, lightly tangy, and sturdy enough to hold everything from chopped salads and grilled vegetables to falafel, eggs, or leftover roasted anything lurking in your fridge. They’re the kind of bread that instantly upgrades a meal and typically steals the show.
Ingredients
200 g fed starter
200 g water
340 g bread flour
45 g whole wheat flour
6-10 g salt (because salt slows down the rate of fermentation, use 10 g if you live somewhere warm, and 6g if you live somewhere colder)
2 tbsp olive oil
2 tbsp honey
Directions
- Add the water to the bowl of your stand mixer, then your fed starter, olive oil, then honey (that way you can use the same measuring spoon and the honey just slips out of the spoon) and whisk by hand until the starter is mostly dissolved. Add both flours and salt, then mix, using your dough hook for 7-8 minutes on low. (If you don’t have a stand mixer, combine all the ingredients as described above, then transfer the dough to a lightly floured surface and knead for about 8–10 minutes until smooth and elastic.)
Transfer the dough to a lightly greased bowl, cover with a damp towel, and let it rise in a warm place until it has increased by 50-70% in size, which typically happens for me in 3 hours. Many recipes call for the dough to double in size, but I find that my bread is over-proofed (slack, super bubbly and hard to work) with when that happens. If your dough is over proofed, it will still be tasty, but you may not get the perfectly puffed pockets we so crave. While the dough rises, cut eight, 8-in. x 8-in. pieces of parchment paper, line two large sheet pans with the cut pieces of parchment paper, and cover them with plastic wrap. - Shape the Pitas: When the dough is sufficiently risen, punch it down, roll it onto your work surface, and use your bowl scraper to divide it into 8 equal portions. Working with one portion at a time, hold the dough in your non-dominant hand, and imagining that a 5-point star is imprinted on the dough, use your thumb and forefinger to gather the dough from each point into the center, pinching the dough in the center to secure the dough. If your dough is sticky, lightly oil your hands with olive oil. Place the dough pinch side down onto your worktable and roll it gently within your palm so it forms a ball. Carefully transfer the ball onto a sheet pan and cover it with plastic wrap. Repeat with the seven remaining pieces.
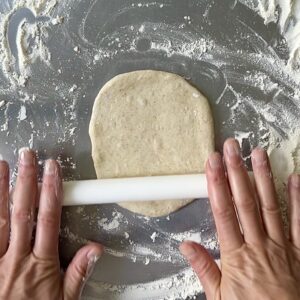
Preheat oven to 450° (F) with a single oven rack in the middle position. After all 8 pieces of dough have been shaped into balls, flour your worksurface lightly. Use a small rolling pin (a dowel-style one like this works best) to flatten each ball into a ¼-inch (6mm) thick circle, then transfer each rolled pita to one of the 8-in x 8-in pieces of parchment paper. Place the pita back onto the sheet pan and keep covered tightly with plastic wrap (I mean it, NO GAPS) while you roll out the rest of the dough. Some recipes recommend that you rest the rolled-out dough rest for 20–30 minutes to improve puffing when baked, but I am still such a slow shaper still that by the time my last dough ball is rolled out, my first one has rested for 20 minutes. But keep this in mind as you improve.
- Bake the Pitas:
Oven Method (The most foolproof way to get the pitas to puff): You will bake the pitas two at a time. Pick up the pita, by holding the ends of the parchment. Place each pita (still on their parchment paper) directly onto the middle oven rack, adjusting as needed so it won’t fall through and bake at 450 (°F) for about 6-7 minutes, until puffed and lightly golden.
Stovetop Method: Preheat a cast-iron griddle or skillet in your oven at 500 (°F) for about 1 hour. Using heatproof oven mits (I love these) transfer the skillet to your stovetop over medium-high heat. Cook each pita for about 1 minute on the first side, until you see the first bubble appear at the surface. Flip the pita carefully using a metal spatula and cook for another minute, then flip again. After another minute or so, your pita should puff. If it doesn’t, flip one last time, and say a little prayer. Cook for a total of 6-7 minutes to ensure the dough is cooked through. - Cool and serve: Wrap warm pitas in a clean kitchen towel to keep them soft. Serve them fresh or allow to cool completely and freeze for maximum freshness. To reaheat, I place them on a parchment paper covered sheet pan (or else they will stick to the pan), then cover them tightly with tin foil. I place the sheet pan in a 300 (°F) oven for about 10 minutes, then remove the foil and continue baking for another 5 or so minutes, until they are warm and pliable, but not dried out.
Equipment
 OXO DIGITAL SCALELINKED HERE
- CAST IRON GRIDDLELINKED HERE
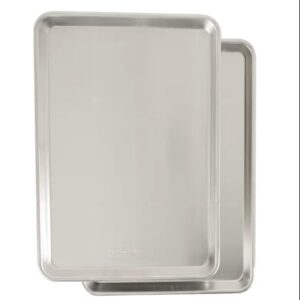
- The Sheet Pans I AdoreBuy Now!
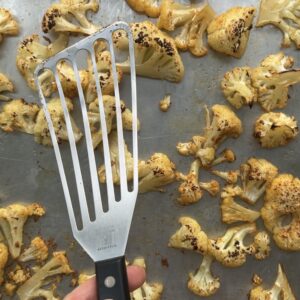
- The Spatula I Can’t Live WithoutLINKED HERE
- SMALL ROLLING PINLINKED HERE
- BENCH/BOWL SCRAPERLINKED HERE
- HIGH HEAT GLOVESLINKED HERE

Did you make this recipe?
Tag @thesaladwhisperer on Instagram and hashtag it with

Sarah Faris: The salad Whisperer
Sarah is a classically trained chef and Mom whose passion is spreading the gospel of salad. A native New Yorker, she now calls Miami, FL home.
Read more
Share this post:
Leave a Reply